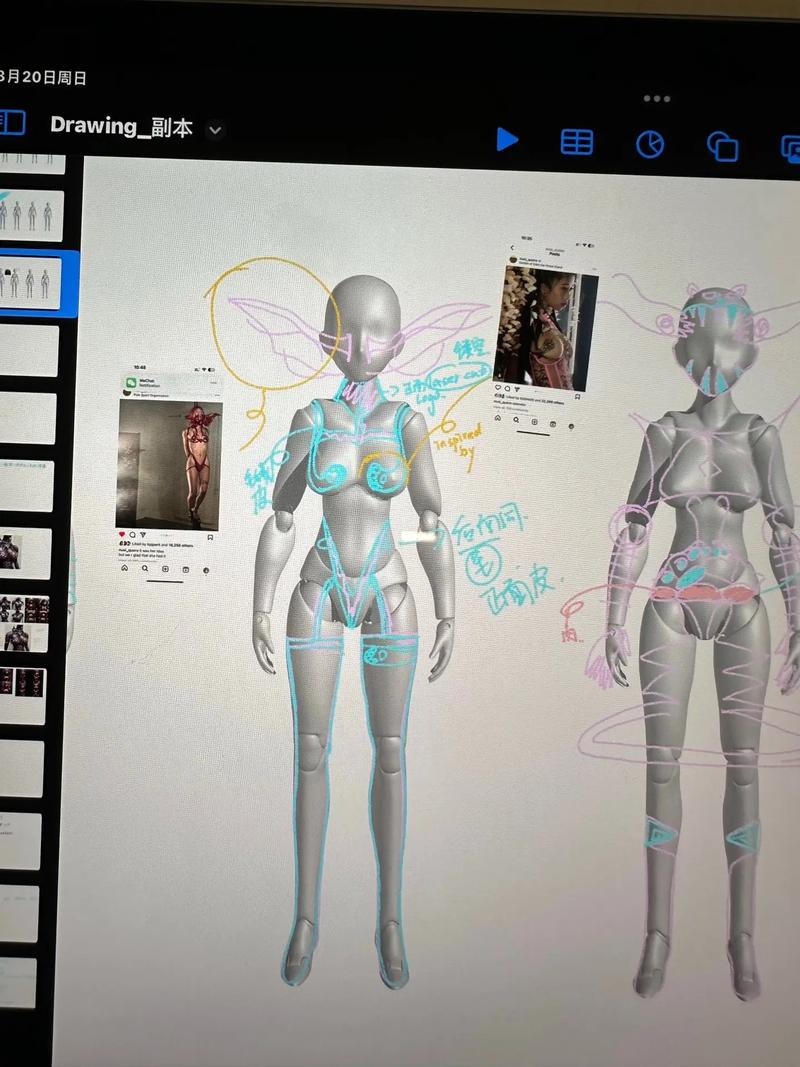
3D Drawing on Paper: A Comprehensive Guide for Aspiring Artists
Are you fascinated by the world of 3D art but find yourself limited by the constraints of traditional 2D mediums? Look no further! 3D drawing on paper is a unique and captivating art form that allows you to bring your imagination to life without the need for expensive tools or technology. In this article, we will delve into the intricacies of 3D drawing on paper, providing you with a step-by-step guide to help you master this fascinating technique.
Understanding the Basics
Before diving into the world of 3D drawing on paper, it’s essential to understand the basic principles that make this art form possible. One of the key elements is perspective. By mastering perspective, you can create the illusion of depth and dimensionality on a flat surface. Here are some fundamental concepts to keep in mind:

- One-Point Perspective: This technique involves using a single vanishing point to create the illusion of depth. It’s particularly useful for drawing buildings, streets, and other rectangular objects.
- Two-Point Perspective: By incorporating two vanishing points, you can create a more dynamic and realistic 3D effect. This technique is ideal for drawing objects with both vertical and horizontal lines, such as buildings and vehicles.
- Three-Point Perspective: This advanced technique involves using three vanishing points to create a highly dynamic and dramatic 3D effect. It’s perfect for drawing objects at extreme angles, such as skyscrapers or buildings from below.
Once you have a grasp on perspective, you can start experimenting with various drawing techniques to bring your 3D art to life. Here are some popular methods:
- Shading: Adding shadows and highlights to your drawing can help create the illusion of depth and texture. Experiment with different shading techniques, such as cross-hatching, stippling, and blending.
- Contour Lines: Contour lines are used to outline the shape of an object and help define its form. By varying the thickness and direction of contour lines, you can convey the object’s texture and volume.
- Overlapping Forms: Overlapping different shapes and forms can create a sense of depth and dimensionality. This technique is particularly effective when drawing complex objects or scenes.
Choosing the Right Materials
To excel in 3D drawing on paper, it’s crucial to select the right materials. Here are some essential tools and supplies you’ll need:
| Material | Description |
|---|---|
| Paper | Choose a high-quality, smooth paper that can withstand erasing and blending. Acid-free paper is recommended for longevity. |
| Graphite Pencils | Use a range of graphite pencils (2H to 6B) to achieve different shades and textures. A sharpener and eraser are also essential. |
| Charcoal Pencils | Charcoal pencils offer a softer, more textured look. They are great for adding depth and dimension to your drawings. |
| Colored Pencils or Markers | Use colored pencils or markers to add color and highlight areas of interest in your drawing. |
| Blending Stumps | Blending stumps are used to soften and blend pencil strokes, creating a smooth and even texture. |
Step-by-Step Guide to 3D Drawing on Paper
Now that you have a basic understanding of the principles and materials, let’s go through a step-by-step guide to help you create your first 3D drawing on paper:
- Sketch Your Subject: Begin by sketching a simple outline of your subject using light, light pencil strokes. This will serve as a guide for your final drawing.
- Apply Perspective: Using the perspective technique of your


